Hello again and welcome! This weeks recipe is a sourdough bread (if you hadn’t figured that out by the title). I used to bake a lot of sourdough bread a couple of years ago but for some reason I stopped doing it. I think it was a combination of working a lot and having some bad luck in my baking. I’m quite experimental and like to try new things, but sometimes it doesn’t work the way I want it to (fortunately it usually does!). But the other week I realized that I spend a lot of money on buying bread when I could just make it myself.
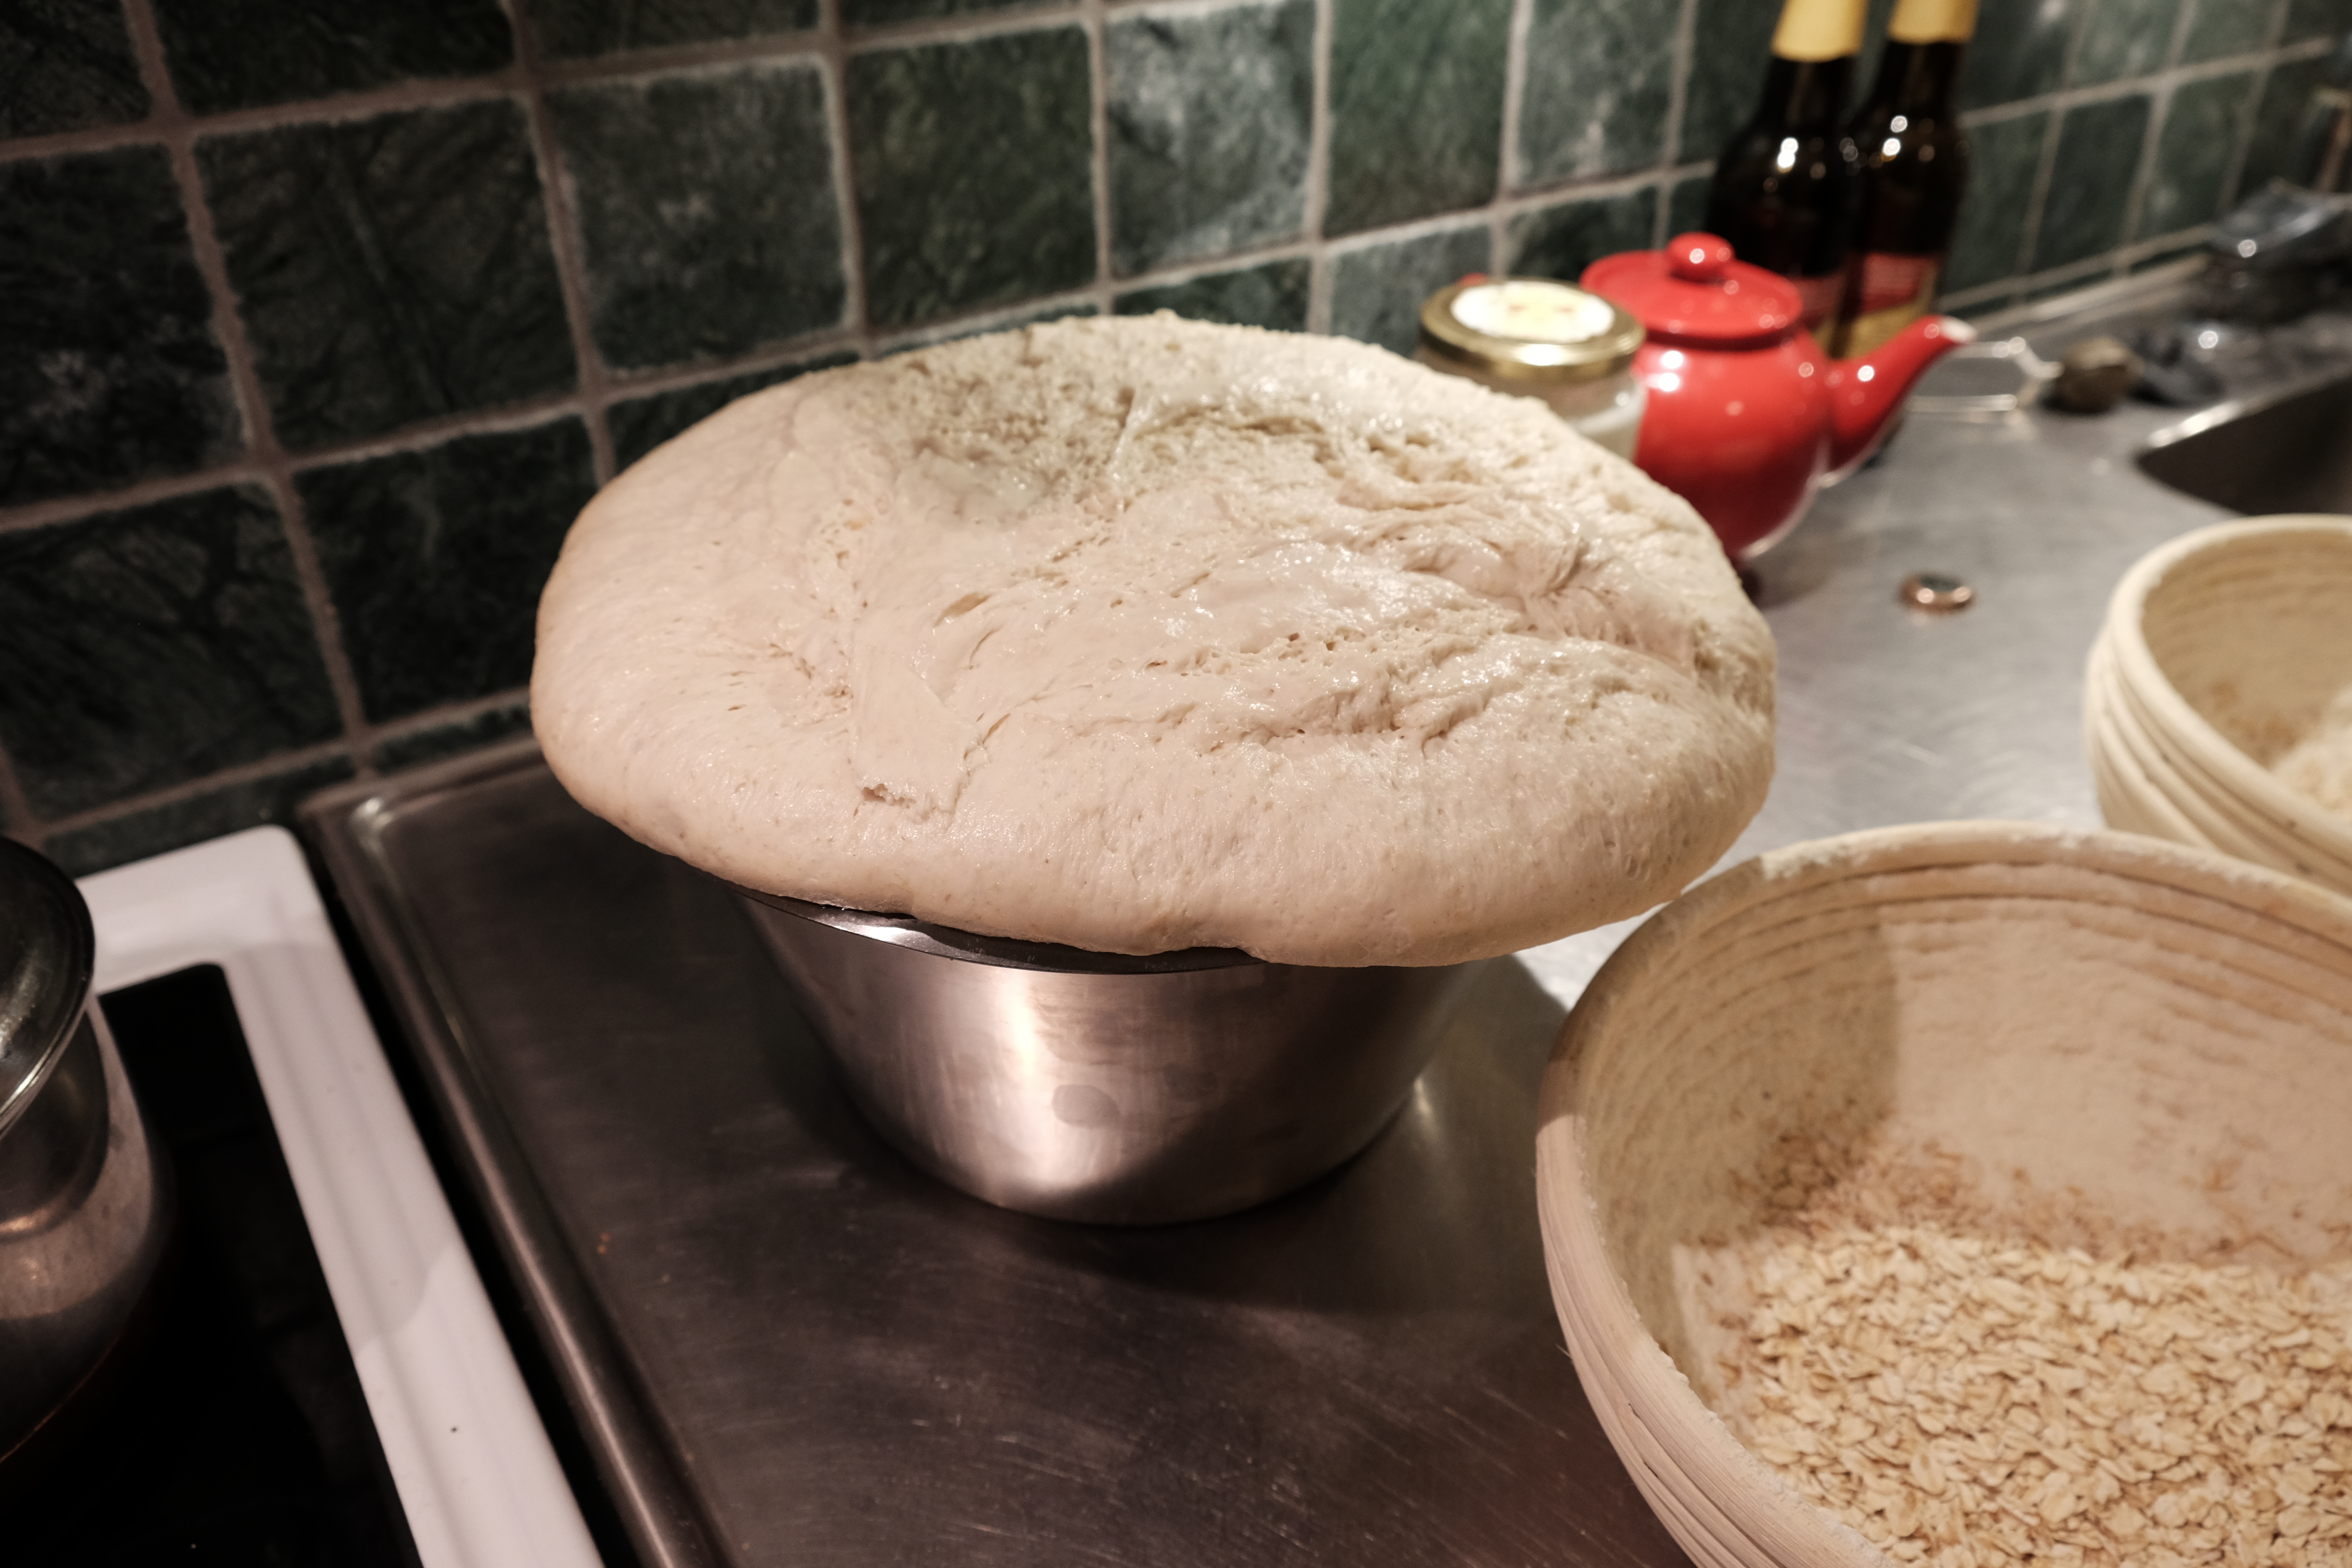
So I decided to start a sourdough and bake some bread. For my sourdough starter I just blended water and flour and then added some grated apple. This is a tip that I learned from a baker many years ago and it helps your sourdough to get started, although you could just make it with flour and water. Then I left my starter in a mason jar on the counter overnight. The next day I added some more water and flour to feed the starter and then repeated this step for the next few days. After the first day you should see bubbles forming in the starter and this means that it is working the way it should. My starter just worked a little to well so one morning when I went into the kitchen a lot of it had escaped onto the counter top. It was a little bit of a nuisance but at least it meant that my starter was very much alive and contained a lot of yeast. So I decided that this was the day I would use it to make my bread, mostly to avoid any further explosions and cleaning which, as you can see below, did not help.
Recipe for the bread:
- 1000 g water
- 1350 g wheat flour
- 2 cups (4,5 dl) rolled oats
- 6 tbsp honey
- 40 g sea salt
- 200 g sourdough
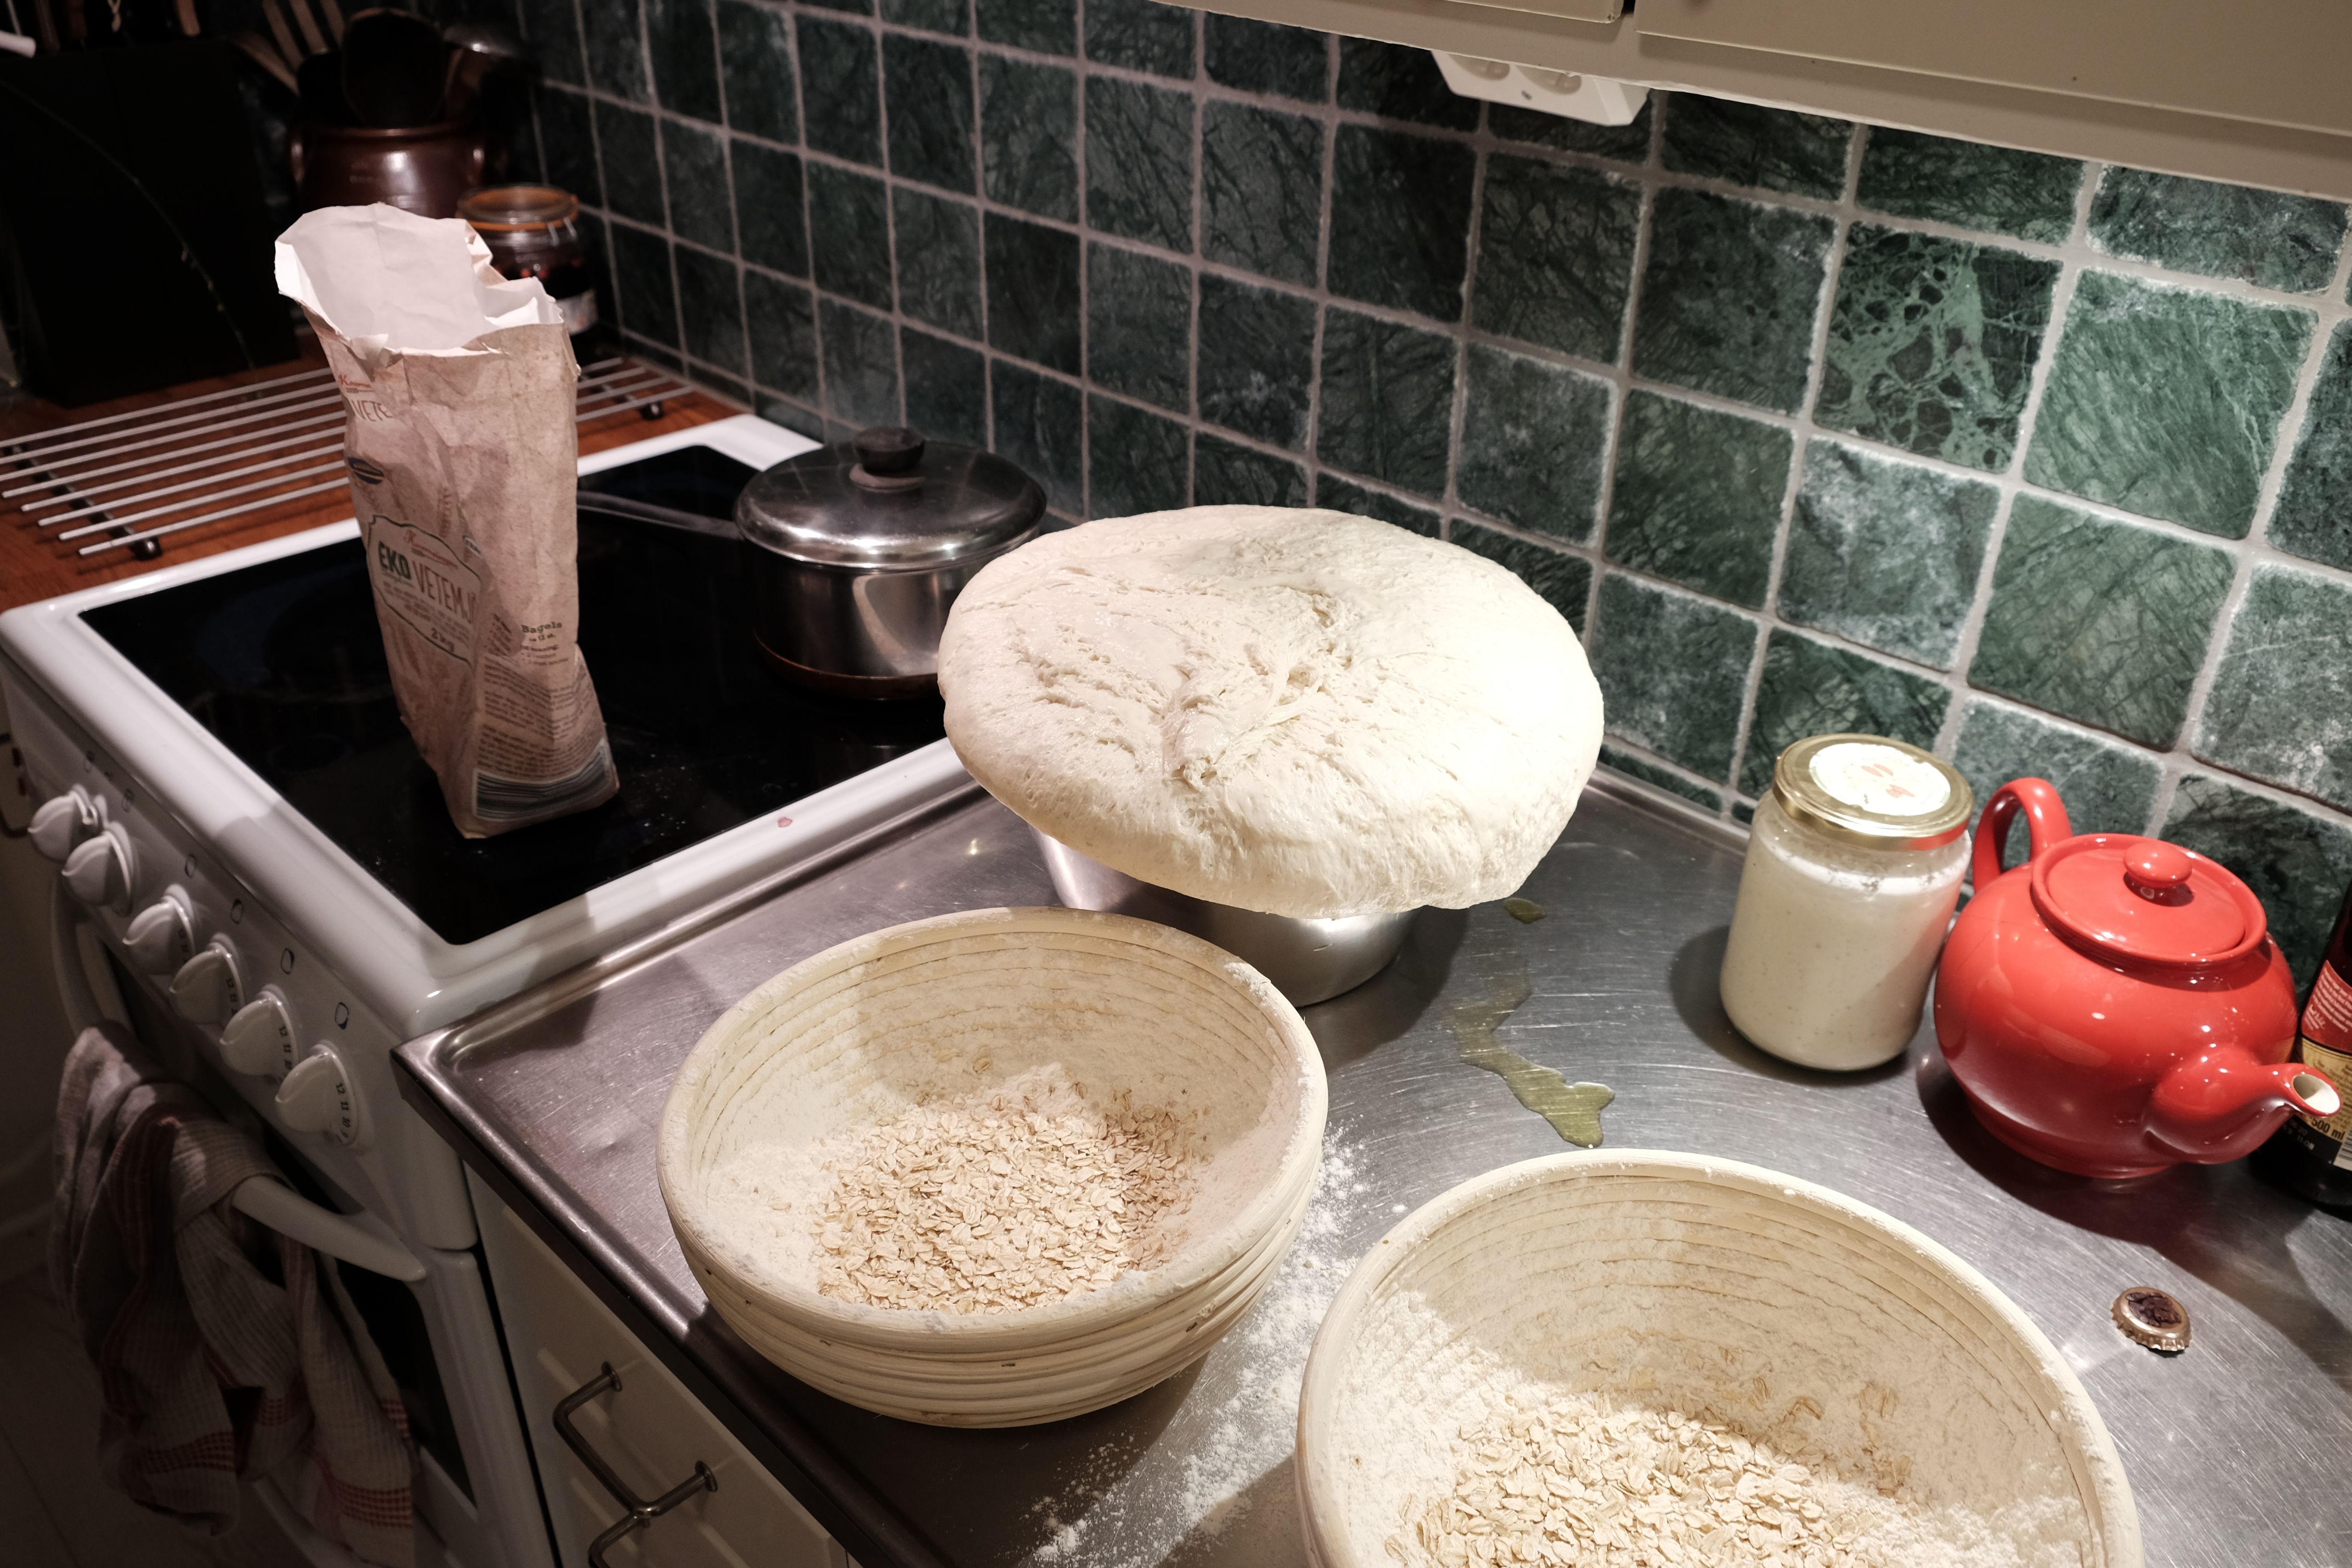
Add all of the ingredients except the salt to a stand mixer and mix on medium speed for about ten minutes. You can also knead the bread by hand but it takes a little bit more time, about 15-20 minutes. Add in the salt and mix for another 5-10 minutes until the dough is smooth and don’t stick to the mixing bowl. Transfer to a clean bowl that’s been lightly coated with olive/rapeseed oil. Leave to rise in room temperature until the dough has doubled in size and then split into two equal parts and transfer to a proofing basket. If you don’t have a proofing basket you can use two smaller bowls, just make sure to coat them with flour and/or rolled oats to make sure that the dough doesn’t stick to the bowl.
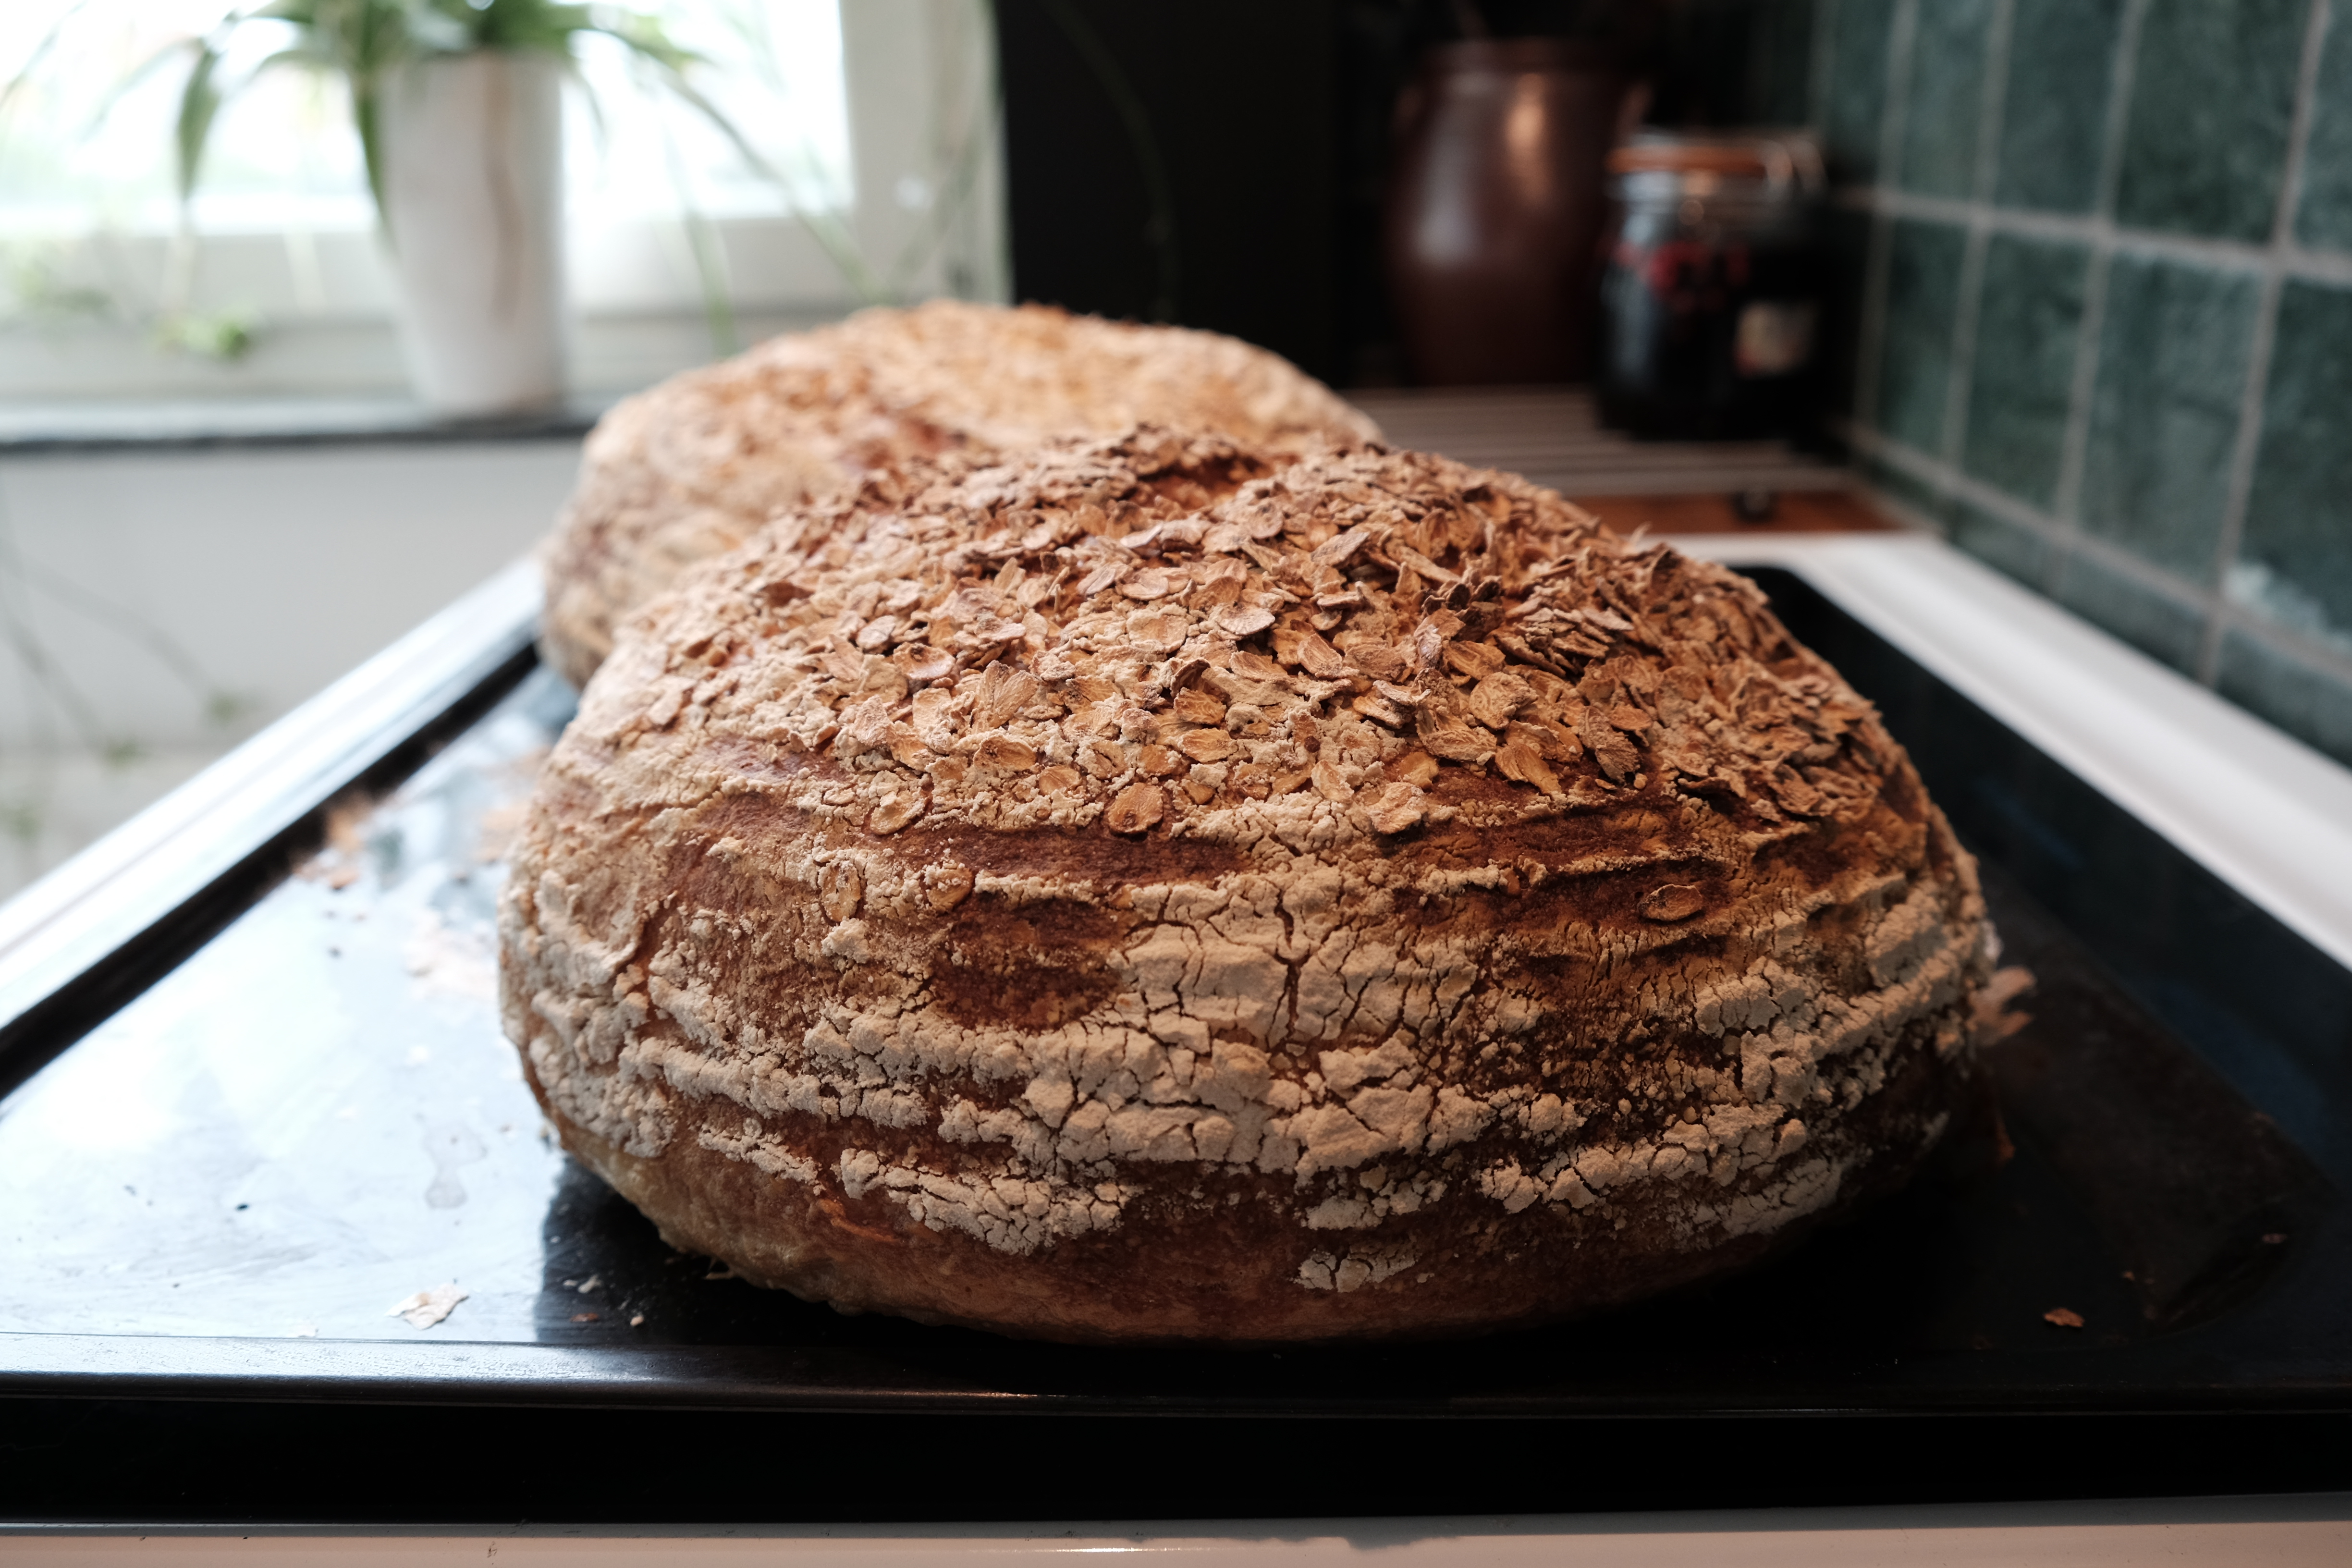
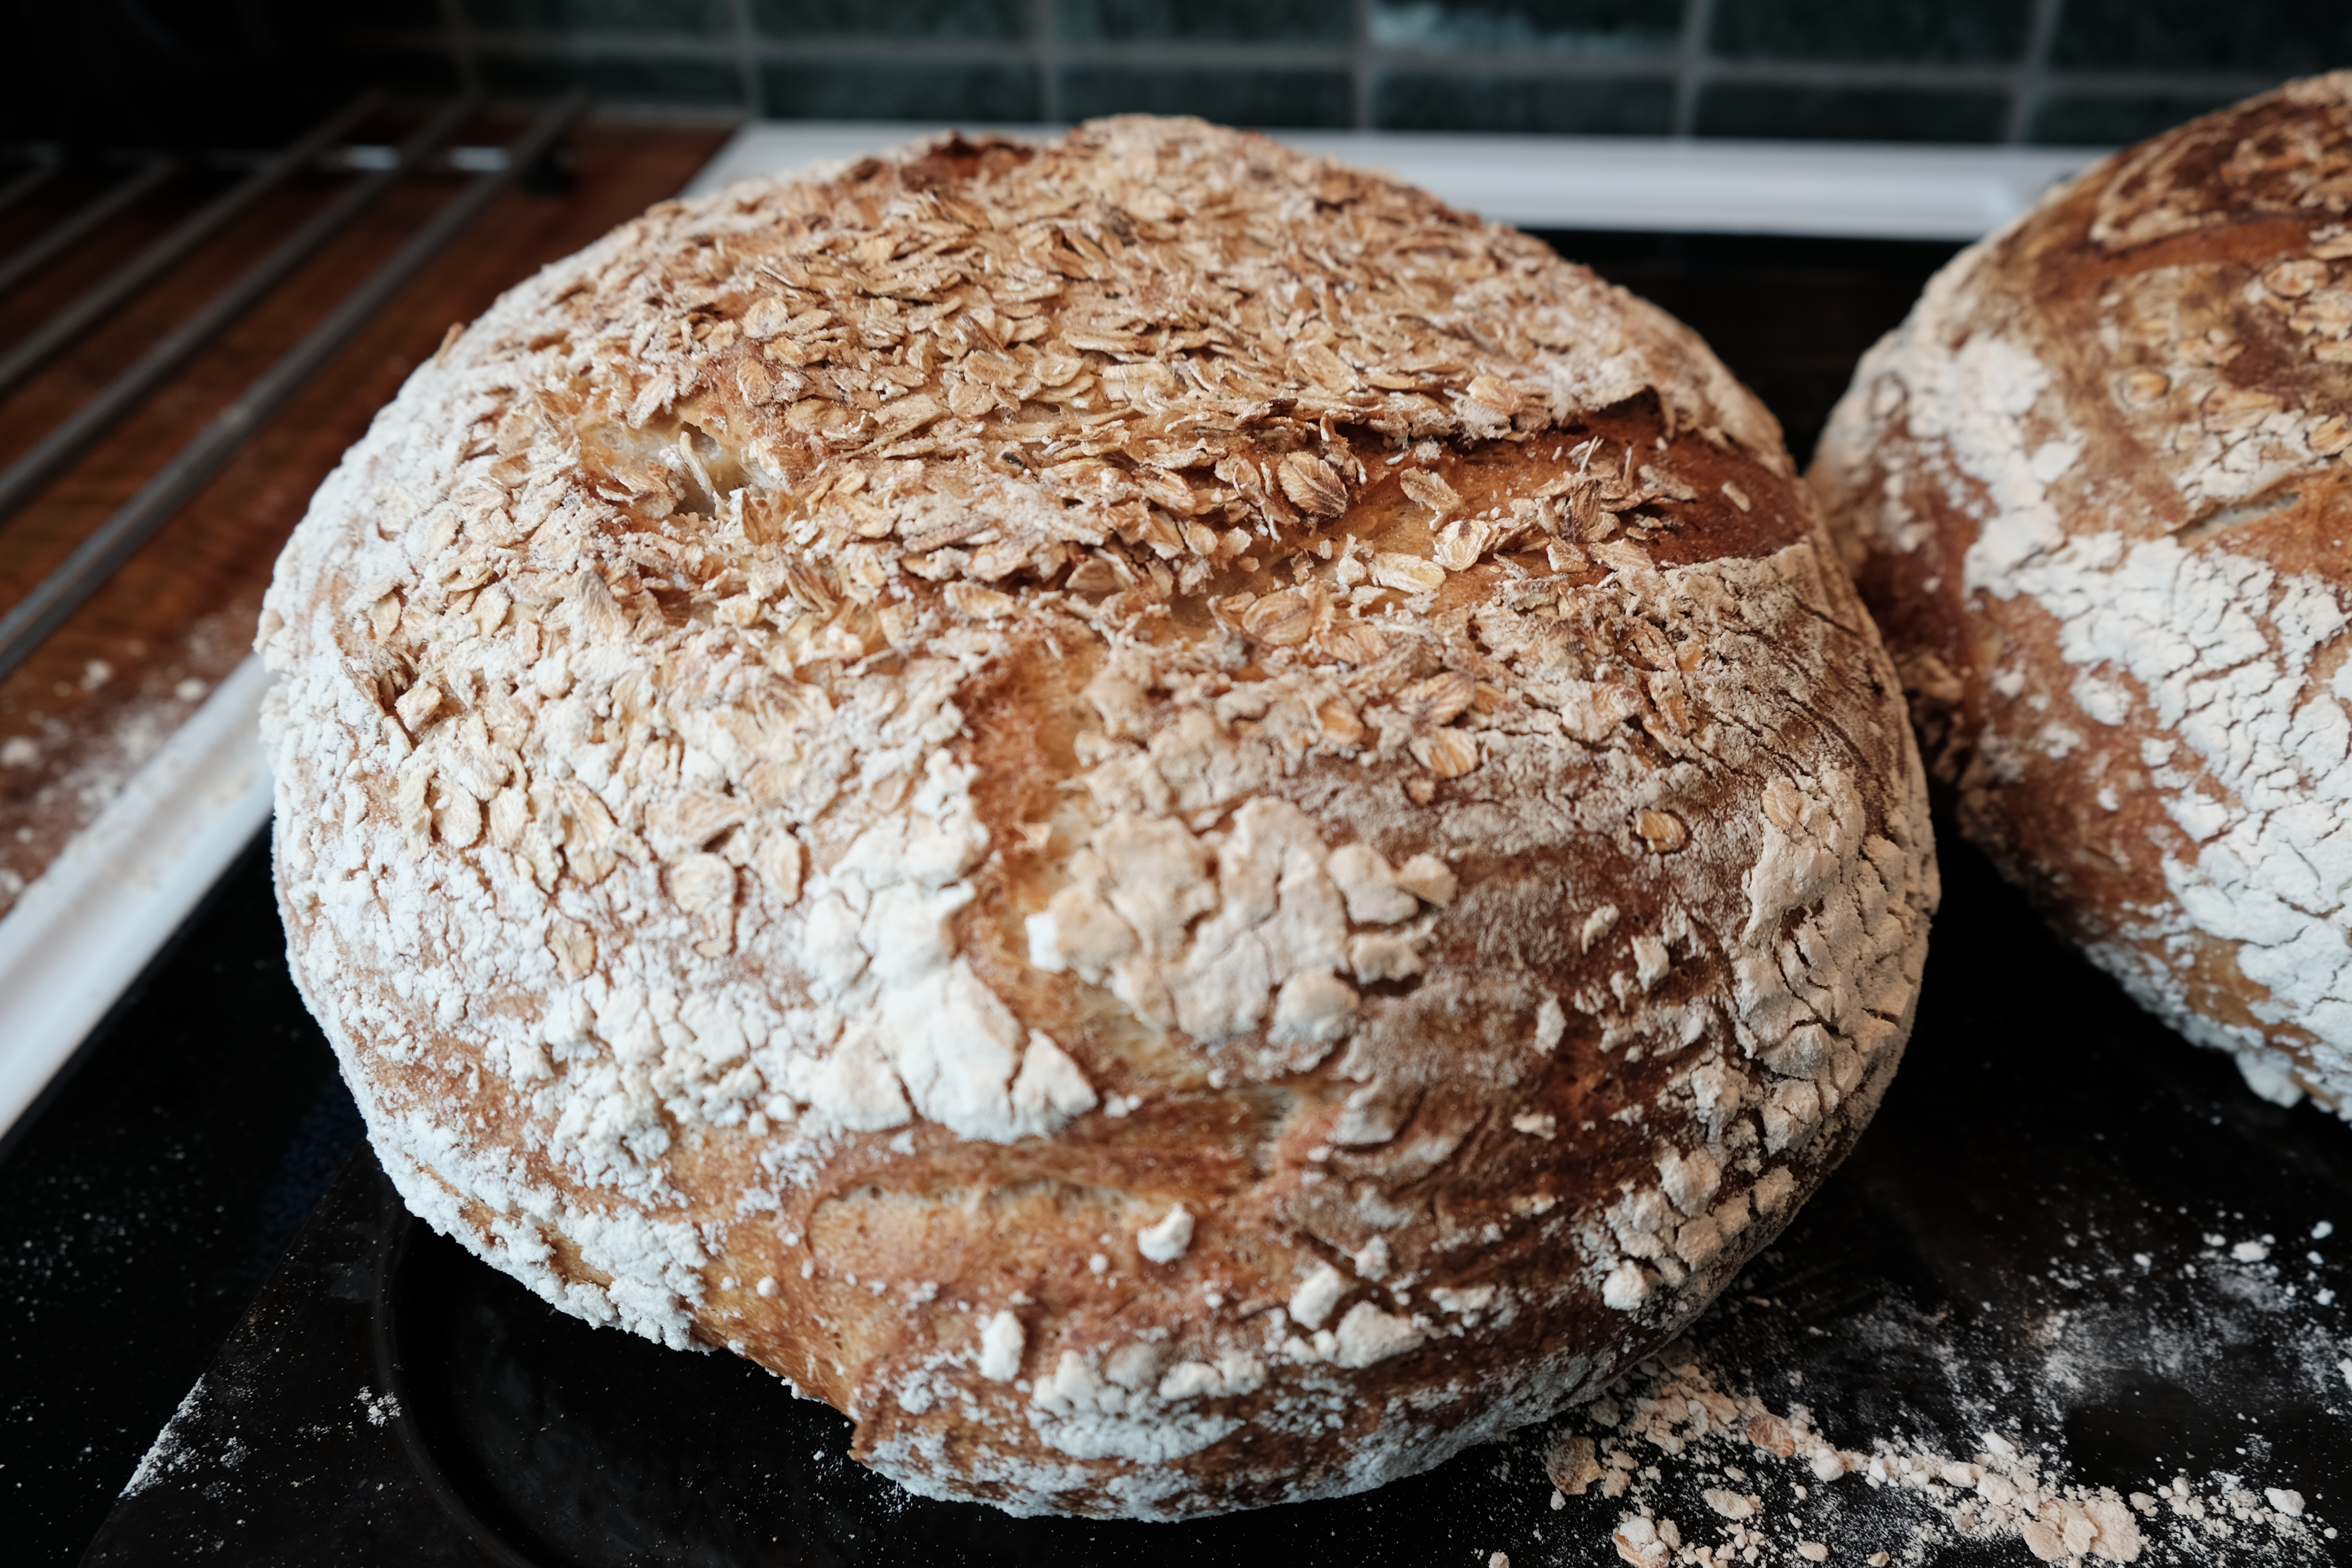
Prove the dough in your fridge overnight. In the morning: Set your oven to 250 C/482 F and put an oven tray in there to get it the same temperature as the oven. When the oven is hot, take out your tray and transfer your bread onto it (preferably without burning yourself). Bake one bread at a time (leave the other one in your fridge until it’s time to bake it). Cut a couple of shallow incisions on top of your bread with a sharp knife. Insert the tray in the bottom of your oven and spray in a little bit of water. This gives you that nice crunchy crust that you want on a sourdough bread. After 5 minutes, lower the temperature on your oven to 200 C/392 F and bake for approximately 40 minutes. If you’re unsure about if the bread is done, use a thermometer to check the temperature (it should be 98 C/208 F). Take it out of your oven and let it cool completely before you cut it. This is the hardest part because all you want to do by this point is to taste it. Repeat the steps with bread number two. This recipe takes time but it is so worth it when you take the first bite with that crunchy crust and then the soft and fluffy interior.
I hope you enjoy this recipe and if you have any questions about it, don’t hesitate to ask. Cheers!
